The right tire pressure is the setting your vehicle manufacturer specifies for the tires and load involved. Find that number first, measure with a gauge, and adjust deliberately instead of borrowing a PSI from another car.
You can make this a straightforward parked-car routine. A little preparation helps you avoid the two common sources of confusion: reading the wrong label and comparing warm tires with a cold-pressure target.
Find your car’s recommended PSI
Look for the tire information label on the driver’s door edge or door frame, and check the owner’s manual if you need help locating it. Read the tire sizes and the front and rear cold-pressure values together. [3]
The large pressure marking molded into the tire sidewall is not your car’s everyday target. Don’t use it to replace the vehicle’s recommendation simply because it is easier to spot.
Front and rear settings may differ, so write down both rather than assuming four identical readings are always correct. If the manual has different instructions for a particular load, use the relevant instructions for your trip.
If your tires or wheels have been changed from the approved original setup, ask a qualified tire professional to confirm the correct application and pressure guidance. A different size needs more thought than finding a number that looks familiar.
Take a clear photo of the label and keep it with your vehicle notes. That small step saves you from leaning into the doorway again while trying to remember which axle had which setting.

Choose a good time to measure
For its cold-pressure checks, NHTSA describes cold tires as tires on a vehicle that has not been driven for at least three hours. A parked morning before your first drive is a convenient way to fit that into a normal day. [1]
“Cold” is about the measurement conditions, not whether the day feels chilly. Your tires can be ready for a cold check on a warm day if the car has been parked long enough.
If you’ve just driven to a gas station, record that the readings were taken after driving. Treat the eventual cold recheck as part of the task rather than assuming the station visit settles everything.
Michelin advises against letting air out of hot tires merely to reach the cold setting. Follow the applicable vehicle and tire instructions for warm readings, then check again under the correct conditions. [2]
Don’t postpone help when a tire is visibly damaged or losing air rapidly just to obtain a textbook measurement. Move to a safe situation and arrange assistance instead of treating the pressure routine as permission to keep driving.
Put the useful things within reach
Bring a pressure gauge you can read comfortably, your recorded target values, and a phone or notepad. If you are adding air, read the inflator’s instructions before connecting it.
Check the gauge’s units rather than assuming every display shows PSI. Many devices can display another unit, which can make a correct reading look wildly different if you compare the numbers alone.
Read the inflator’s power requirements, duty-cycle limits, and connection instructions, too. A tool that plugs into a vehicle outlet still needs to be compatible with that outlet and its electrical limits.
Choose a place where you can reach each tire without standing in traffic. If you can’t safely reach a valve, change the location or ask for help before starting.
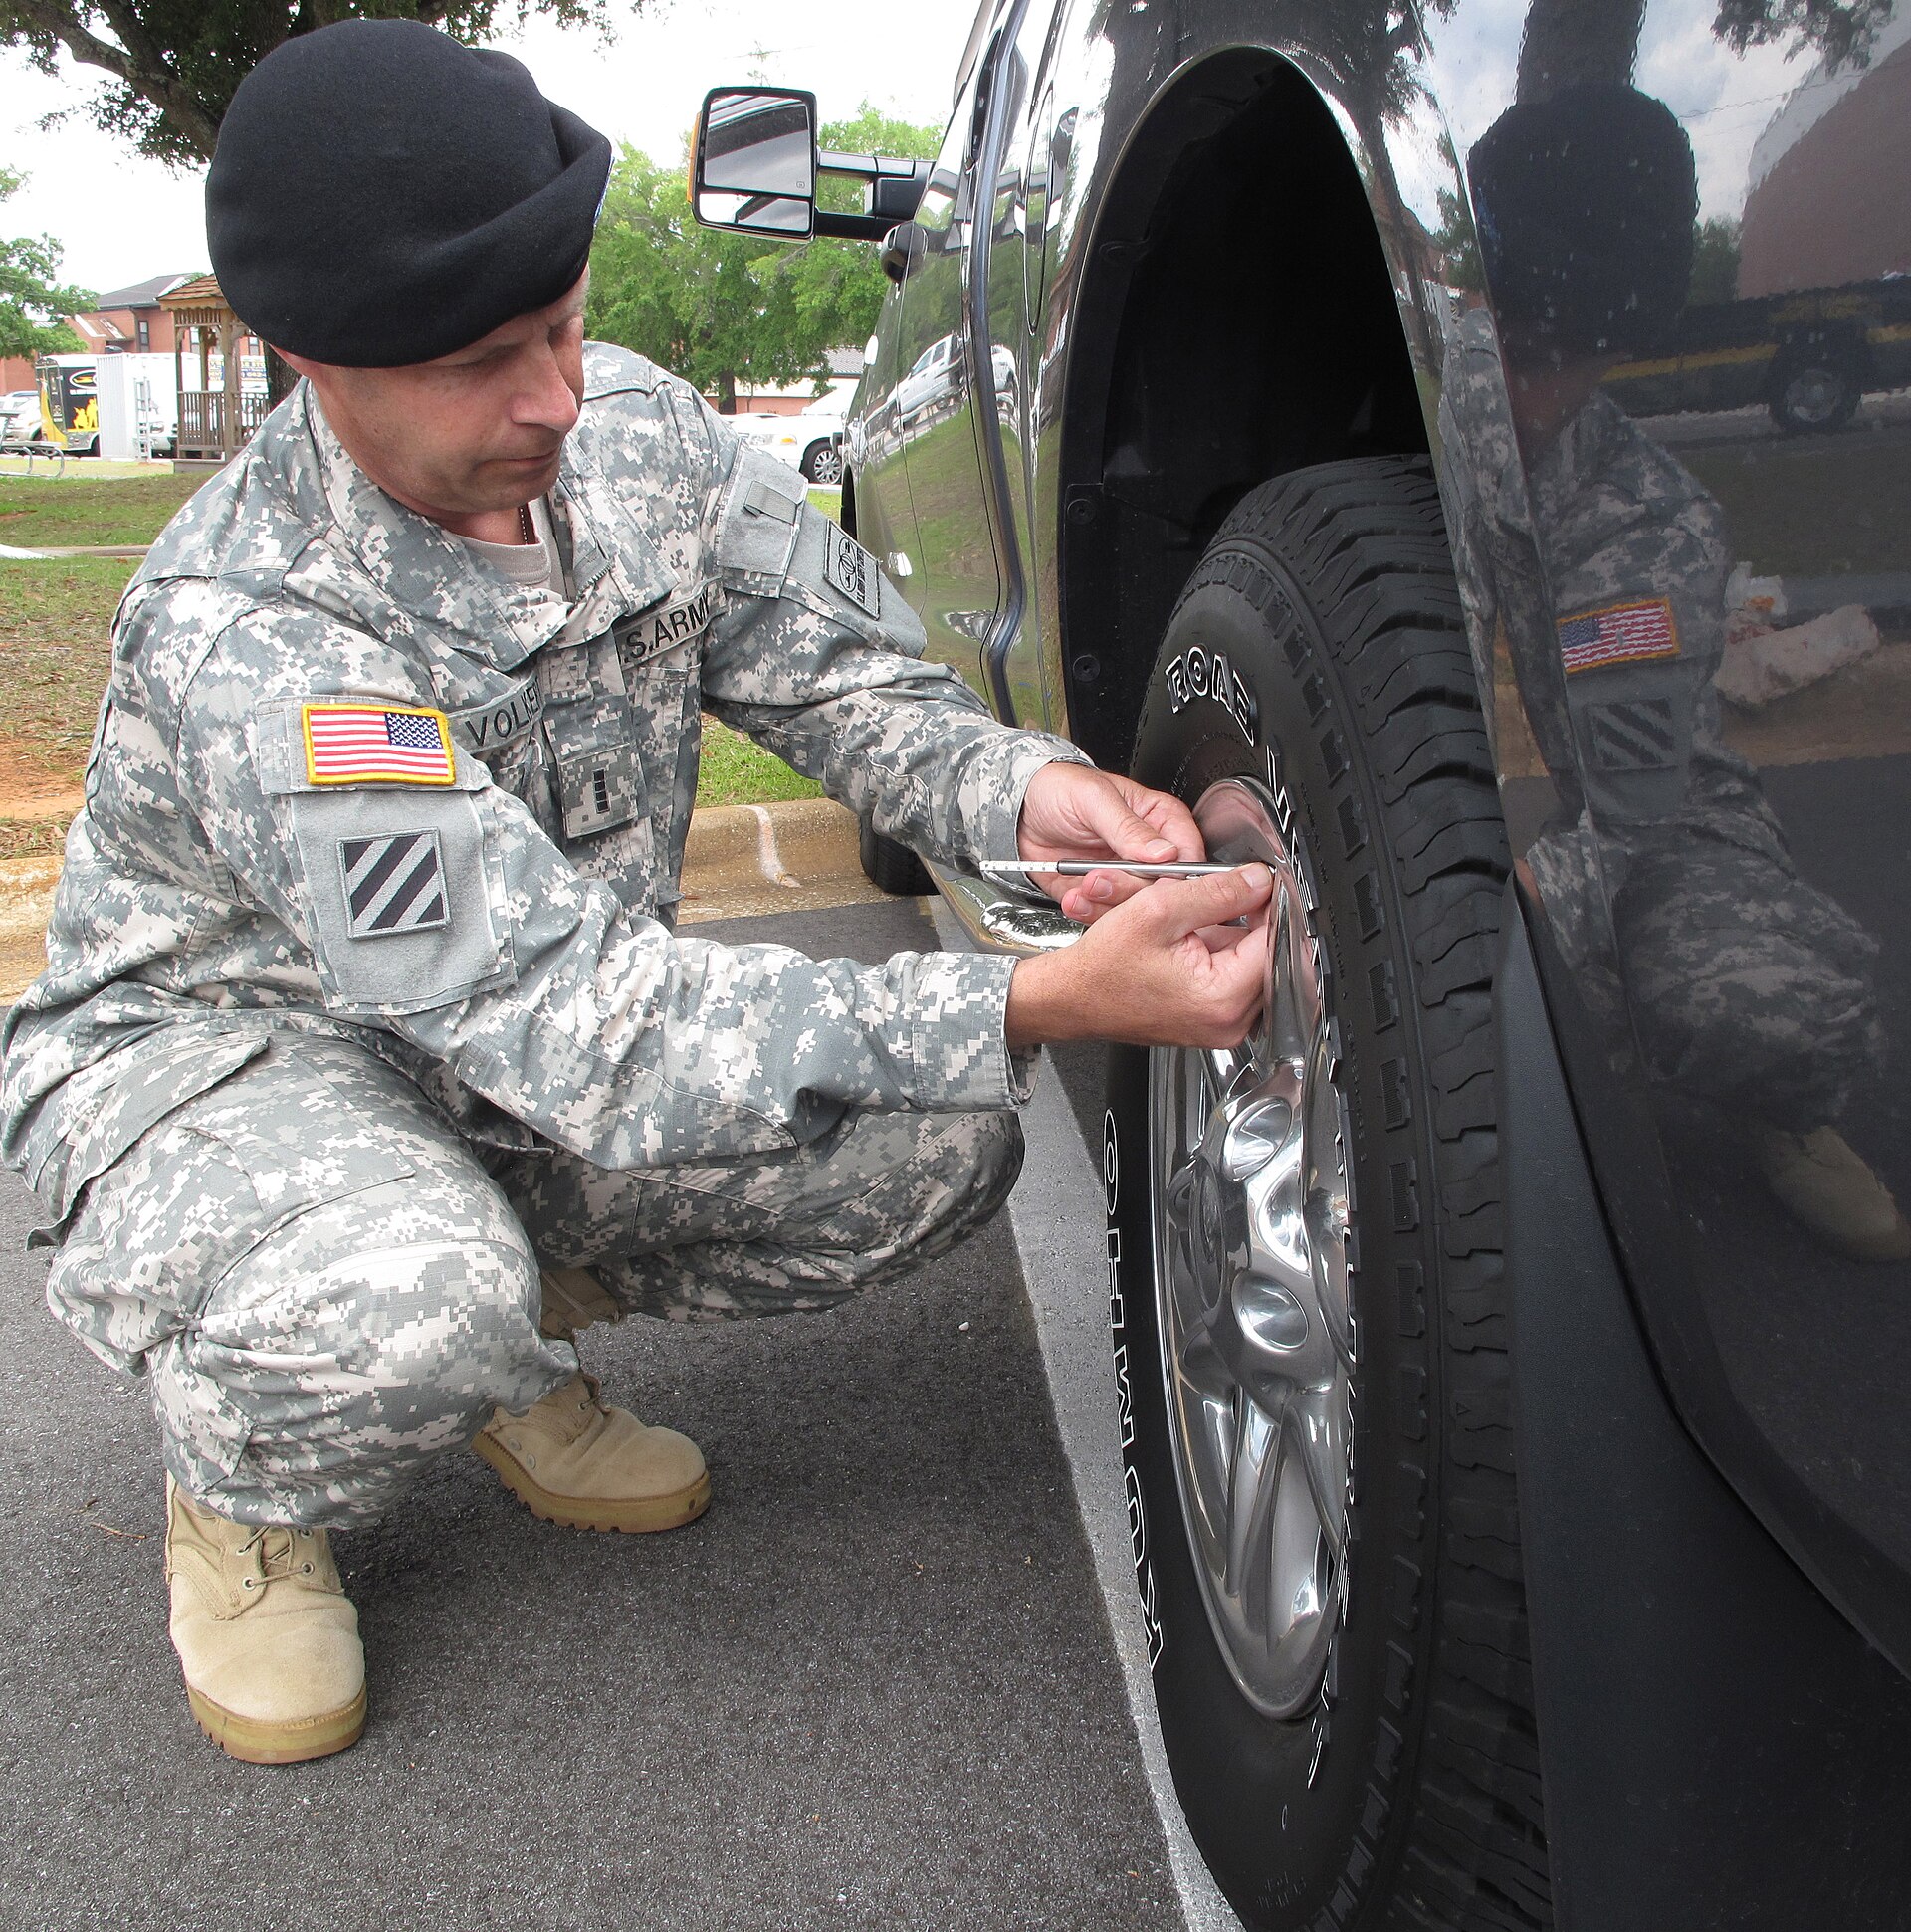
Measure each tire and record the reading
Remove one valve cap and set it somewhere it won’t roll away. Place the gauge firmly and squarely on the valve so you can obtain a reading without a continuing rush of escaping air. [3]
If the result looks surprising or you didn’t make a good connection, take another reading. Repositioning a gauge is more useful than committing the first uncertain number to memory.
Write the reading beside the tire’s location: left front, right front, left rear, or right rear. A row of four numbers without positions is easy to mix up when you walk around the vehicle.
Compare each reading with the appropriate axle’s target. Restore the valve cap after the check, and repeat the same process at the other tires.
Check the spare according to the instructions for the spare fitted to your car. A temporary spare can have a different pressure and operating restrictions, so don’t copy the road tires’ target onto it.
A simple record can say “parked overnight, front target copied from placard, all four checked.” Add the actual readings so a later change has something meaningful to be compared with.
Adjust in small steps, then measure again
If a reading is below the applicable target, connect your compatible inflator and add air in short stages. Pause and check the actual pressure rather than treating a timer as a pressure measurement. [3]
For a cold tire that is above the correct target, release air carefully using the gauge or valve procedure described in your equipment instructions. Recheck after each adjustment so you don’t turn one correction into a new problem.
An inflator’s automatic shutoff can help, but it doesn’t remove the need to verify the finished reading. Check the units, target entry, and final measurement before packing the tool away.
Imagine a placard that specifies different front and rear values. You would set the inflator for the first axle, verify those tires, then change the setting for the second axle rather than using one saved target everywhere.
That example is about organizing the job, not recommending a particular PSI. Your label and the instructions for your vehicle are what determine the numbers.
Use the warning light as a prompt, not a gauge
A tire-pressure warning tells you something needs attention, but it doesn’t replace routine measurements. NHTSA notes that the system warns when a tire is significantly underinflated, which is why waiting for the light is not a complete maintenance plan. [1]
If the warning stays on after you’ve verified the correct pressures, look up the vehicle’s instructions for that warning and its reset or relearn process. Don’t keep adding air just because the light hasn’t disappeared.
Write down whether the light was steady, flashing, or accompanied by a message. That detail helps the person inspecting the vehicle distinguish a pressure concern from a monitoring-system concern.
A warning that disappears after driving also deserves a cold check. The useful question is what the tires measured under the recommended conditions, not whether the dashboard happened to look normal later.
Notice patterns without diagnosing the cause
If one tire repeatedly loses pressure, save its readings and dates and have it inspected. Repeated topping up may keep hiding the same unresolved problem.
Don’t pull out an embedded object, use a sealant, or decide a tire is repairable based only on what you can see. A tire professional can assess damage and the appropriate next step.
If two gauges disagree enough to change your decision, don’t average the readings and call the uncertainty solved. Check the tools and ask a professional for a reliable reference reading.
Put the next routine check in your calendar and keep the gauge somewhere accessible. NHTSA recommends checking tires, including the spare, at least monthly; pairing that with an existing habit makes the task easier to remember. [1]
The whole routine comes back to three things: the right vehicle-specific target, a trustworthy measurement, and a finished check you can document. When those agree, you can put the tools away without guessing what the numbers mean.
Sources & documentation
Checked October 12, 2026. Model-specific examples are identified in the guide.
- NHTSA · TireWise
Vehicle pressure target, cold measurement after at least three hours, monthly checks including spare, TPMS limits.
- Michelin USA · FAQs
Do not deflate hot tires to cold targets; winter tires as a set of four.
- Michelin USA · How to inflate tires
Vehicle placard, gauge at valve, measured adjustment and recheck.


