The most useful part of a careful hand wash is keeping dirt from returning to the paint. Buying a soft mitt helps, but the whole process matters: what you rinse away, where the mitt goes next, and whether the drying towel is actually clean.
Think of the wash as a series of small, controlled sections rather than a race around the car. You can’t promise a scratch-free result, but you can avoid turning a dirty tool or a stubborn spot into repeated rubbing.
Check the finish before selecting products
Read the exterior-care instructions for your actual car and any added coating, protective film, or wrap. A method intended for ordinary glossy paint may not fit a matte finish, a repaired panel, or a surface with its own care requirements.
For the 2025 CX-5, Mazda identifies several ways washing can scratch paint, including skipping the initial dirt rinse and using a rough, dry, or dirty cloth. Its guidance calls for gentle contact and avoiding abrasive cleaners. [1]
Use that example to ask the right questions about your own finish, not to assume every surface has identical instructions. Identify glass, painted panels, wheels, unpainted trim, and sensitive equipment before assigning one cleaner to everything.
If the car has recently been refinished, ask the repairer for the actual washing and protection instructions. A glossy appearance doesn’t tell you whether a newly repaired panel can immediately be treated like the rest of the vehicle.
Set up before the first contact pass
Choose a place where the vehicle can be washed safely and where runoff and water use meet the applicable local rules. Have the allowed rinsing method, clean tools, and drying equipment ready before wetting the car.
Autoglym’s heatwave guidance recommends washing cool paint in shade and working in sections so cleaning solution doesn’t dry on the finish. Those conditions are worth planning before you start, rather than trying to correct a drying panel halfway through. [2]

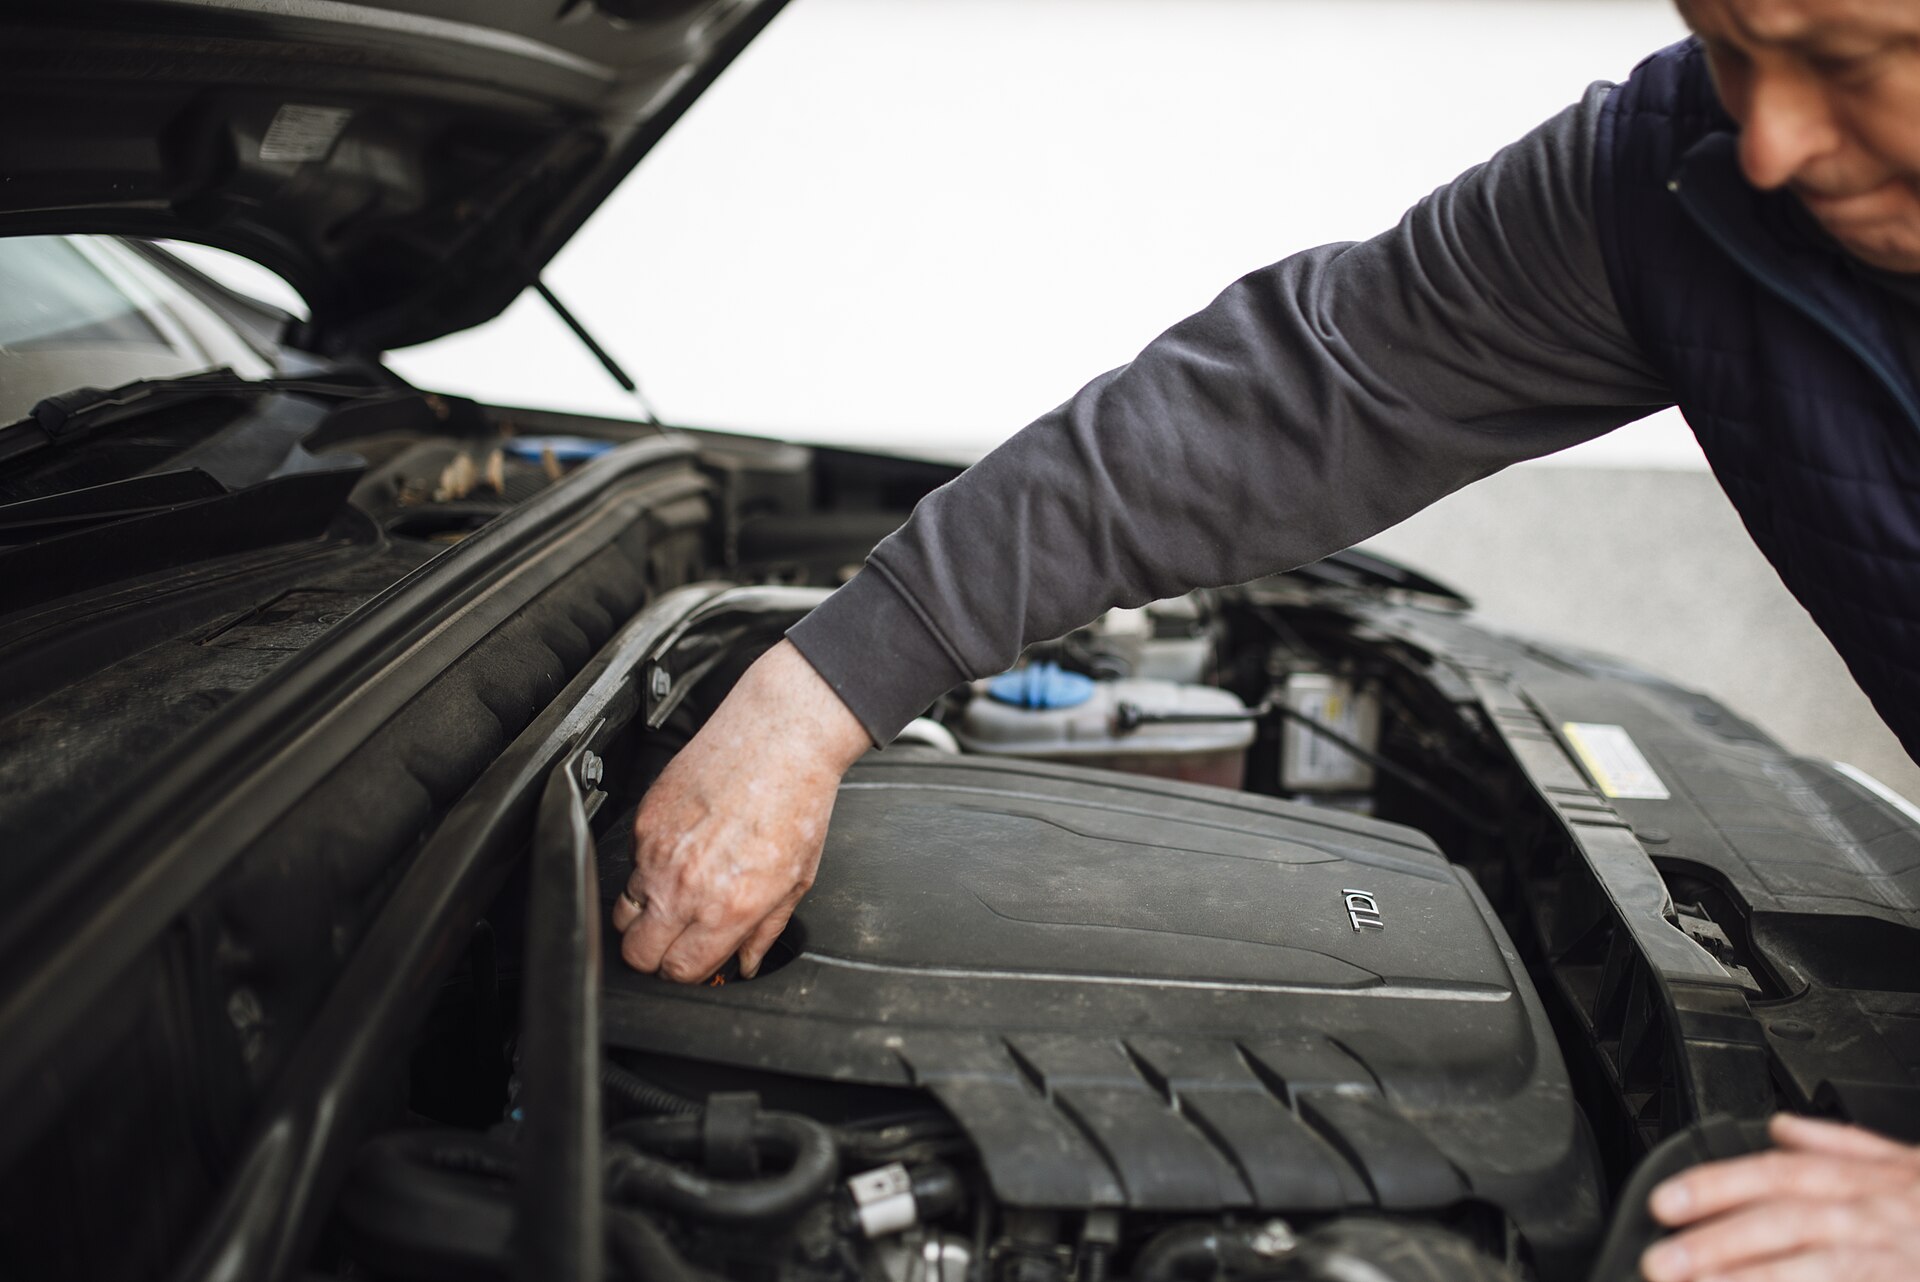
The photograph shows an outdoor wash activity, not a complete method or an endorsement of the visible equipment. It doesn’t establish the pressure, product, surface condition, or instructions being followed.
Inspect the mitt and towels for visible debris and damage, then keep them off the ground. Put an unused towel within easy reach so dropping the working towel doesn’t force you to choose between continuing with it and abandoning the drying step.
Give wheel-cleaning tools their own place in the setup. Keeping them visibly separate makes it easier to avoid using the same dirty cloth on a wheel and a painted door without thinking.
Rinse before asking a mitt to move dirt
Mazda’s named-model guidance calls for removing dirt with a rinse before washing, and for thoroughly rinsing soap without letting it dry. That is a different job from wiping an unprepared dusty surface until it looks glossy. [1]
Follow the actual water-pressure and distance restrictions for the car and equipment. A broad spray isn’t proof of gentle pressure, and a narrow gap isn’t an invitation to hold the nozzle closer.
Do an initial look around the car for stuck deposits and heavily soiled areas. If a deposit doesn’t release with the permitted wash method, choose a compatible treatment or get advice rather than keep increasing pressure with the mitt.
Read the product’s dwell, dilution, rinsing, and surface restrictions before using a targeted cleaner. “Safe for cars” isn’t a complete explanation of how to apply it to a particular material.
Keep the mitt’s route clean
Autoglym describes a two-bucket method with wash solution in one bucket and separate rinse water in the other. Rinsing the mitt between panels helps keep removed dirt from being carried back into the wash solution. [2]

The diagram follows a tool and a particle through the setup, not a laboratory measurement of scratching. Its purpose is to make the dirty-tool path easy to notice before the mitt touches another panel.
Label the buckets if it helps someone sharing the job keep their roles straight. Two identical containers don’t help much if you forget which one has become the dirty rinse bucket.
Lay out a small working area with a place for clean paint tools, a place for wheel tools, and a container for items that need cleaning. That arrangement makes a dropped mitt an obvious interruption instead of something you absentmindedly put back with the ready-to-use tools.
Keep the route simple enough to remember when you pause to answer the door or refill water. Restart by checking the tool and the section you were working on, rather than assuming everything is still in its original condition.
Work on a manageable section, rinse the tool as directed, and assess it before returning to the wash solution. If the rinse water or tool is visibly dirty, replace or clean it rather than assuming the number of buckets guarantees cleanliness.
Autoglym advises moving from upper areas toward the dirtier lower sections and avoiding hard rubbing at stubborn dirt. Keep that order deliberate instead of letting the next convenient panel decide where the mitt goes. [2]
For a simple example, finishing a lower door shouldn’t automatically lead to another pass across the roof. Reset the tool and check whether the next area actually needs more washing before repeating contact.
Know when to stop a pass
A remaining mark may need identification rather than more effort. Stop when you can’t tell whether you’re seeing a deposit, an existing scratch, staining, or damage to the finish.
Take a photograph under ordinary lighting and note which permitted cleaning steps you’ve already tried. That lets a detailer or repairer assess the remaining issue without relying on “I scrubbed until it changed.”
Don’t use a wheel product, kitchen abrasive, or a stronger concentration to improvise the next step. Keep the original product label available so any advice refers to what actually touched the surface.
If you’re washing with someone else, agree who handles these uncertain spots. One person shouldn’t continue rubbing while another is still looking up whether the material or cleaner is appropriate.
Dry with the same care you used to wash
Autoglym recommends a suitable clean microfiber or drying towel before water dries into spotting. Set that step up as part of the wash instead of reaching for any cloth left in the garage. [2]
Inspect the towel and keep a clean replacement nearby. If it touches the ground or picks up visible grit, stop and replace it rather than hiding the contaminated corner inside a fold.
Use the drying method permitted for the surface and towel, with gentle contact. A towel that is appropriate when clean doesn’t stay appropriate merely because it started the job clean.
Keep the towel used on wheels or lower dirty areas out of the paint-drying group. A small storage change, such as separate labeled containers, can make the next wash easier to organize.
Finish with observations, not a repair claim
Inspect the clean car in useful light and record any unresolved spots or marks. If something appears new, preserve what you know about the tools, products, and sequence without claiming the cause from appearance alone.
Remember that washing and paint correction are different decisions. A completed wash isn’t a reason to start polishing an unfamiliar finish or to apply a protection product whose instructions you haven’t read.
Clean and store the tools according to their own care instructions, then note what you’d change next time. The best upgrade may be a fresh drying towel, a clearer bucket arrangement, or more time for the rinse, rather than another bottle.
Sources & documentation
Checked October 14, 2026. Model-specific examples are identified in the guide.
- Mazda US ·2025 CX-5 Exterior Care
Rinse before contact, dirty/rough cloth and abrasive-cleaner risks; gentle washing and thorough rinse.
- Autoglym ·Practical Tips for Cleaning Your Car in a Heatwave
Cool shaded surfaces; separate rinse/wash buckets, upper-to-lower contact order, section rinsing and clean drying tools.